5 способов создания эффекта сепии в фотошопе
Содержание
Give your photo an antique appearance
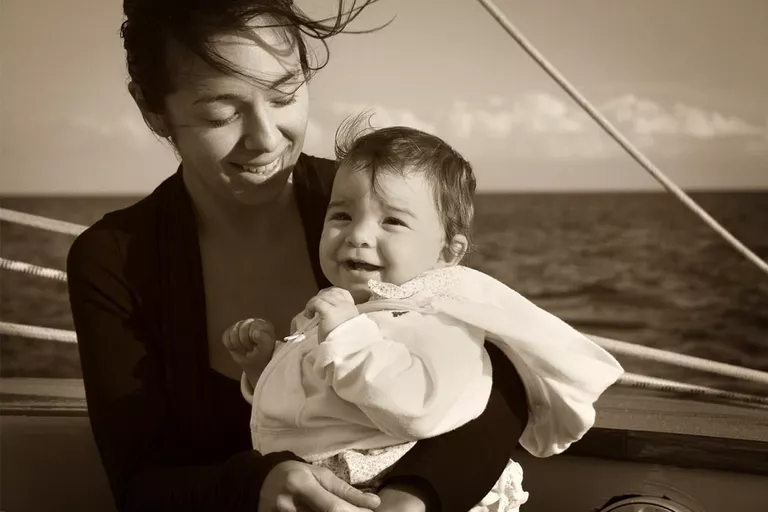
Carlos Davila / Getty Images
Software
-
Graphic Design
-
Documents
-
Spreadsheets
-
Presentations
-
Desktop Publishing
-
Databases
-
Animation & Video
by
Sue Chastain
A graphics software authority with web design and print publishing credentials.
Updated September 21, 2019
26
26 people found this article helpful
Sepia tone is a reddish-brown monochrome tint. When you apply it to a photo, it gives the picture a warm, antique appearance. In the early days of photography, photos were developed using sepia, which came from the ink of cuttlefish, in the emulsion.
Now with digital photography, there’s no need for emulsions for photo development, but something is still appealing about the quality of sepia-toned portraits and photos. You can get that in your digital photos easily with Adobe Photoshop.
These instructions apply to Photoshop CS5 and later, but some commands and menu items may differ between versions.
Photo Filter Method for Sepia Tone
-
Open the image in Photoshop.
-
If the image is in color, go to Image > Adjustments > Desaturate.
If the image is in grayscale, go to Image > Mode > RGB Color.
-
Go to Image > Adjustments > Photo Filter.
-
Click the radio button next to Filter, and then select Sepia from the menu to the right of it.
-
Check the box next to Preview located on the right side of the Photo Filter window to see your picture change as you make adjustments.
You can move the Photo Filter window to an area of the screen that makes seeing the preview easier.
-
At the bottom of the Photo Filter window, adjust the Density slider to 100 percent. To lower the sepia tone, fine-tune the slider down until the photo has the tone you like.
Adjust the density by adjusting the slider or typing a number from 1 to 100 into the box above the bar.
-
Click OK.
Use Desaturate on a photo, and then experiment using Photo Filters to apply other color tints and filters to your photos for different effects and moods.
Take More Control Over Your Sepia Tone
To give yourself three sliders to adjust instead of just one and have more control over how your sepia-toned photo looks, follow these instructions:
-
Open the image in Photoshop.
-
Go to Layer > New Adjustment Layer > Hue/Saturation.
-
Change the name of the adjustment layer if you want, and then click OK.
-
Select Sepia from the menu next to Hue/Saturation.
-
Photoshop will make preset adjustments to add a sepia tone to your photo.
But now, you can adjust the Hue, Saturation, and Lightness sliders — either by moving the arrow or typing numbers into the boxes — to fine-tune the effect until it’s how you want it.
-
If you’re using older versions of Photoshop, the steps may be different, but as with most techniques in the graphics industry, there are many ways of applying a sepia tone to a photo.
Continue Reading